This will be the Third post on the “Autopilot Device Preparation” series.
During this post we will go through the “Autopilot Device Preparation Device Provisioning” flow
When a user powers on the Autopilot device for the first time, an intricate provisioning flow is initiated, designed to streamline the setup process and enhance user experience.
This article delves into the steps and technologies involved in the “Autopilot Device Preparation Device Provisioning” phase.
outlining what users can expect as their device connects to the network, retrieves configurations, and prepares for immediate use. From seamless enrollment in an organization’s management system to automatic application installations and policy enforcement.
Join us as we unpack the key components of this provisioning flow.
For the previous articles on this series please check the following posts
Autopilot Device Preparation – Overview
Autopilot Device Preparation – 3 steps to configure
Table of Contents
Autopilot Device Preparation Device Provisioning Flow
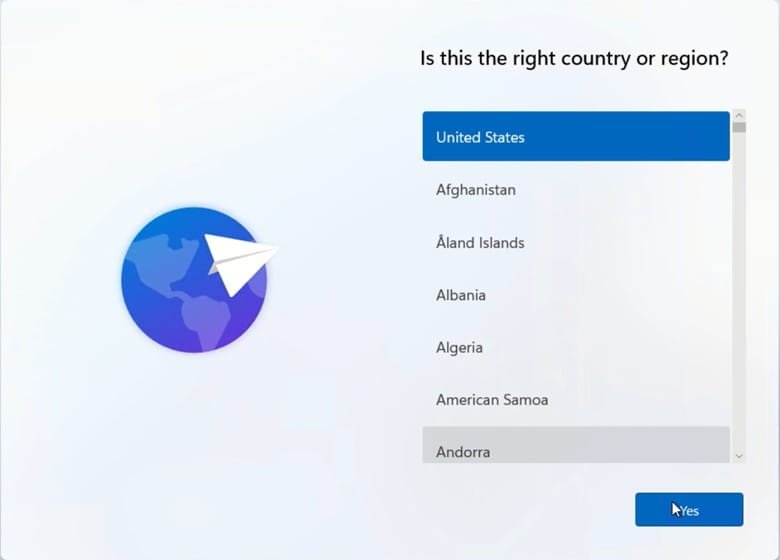
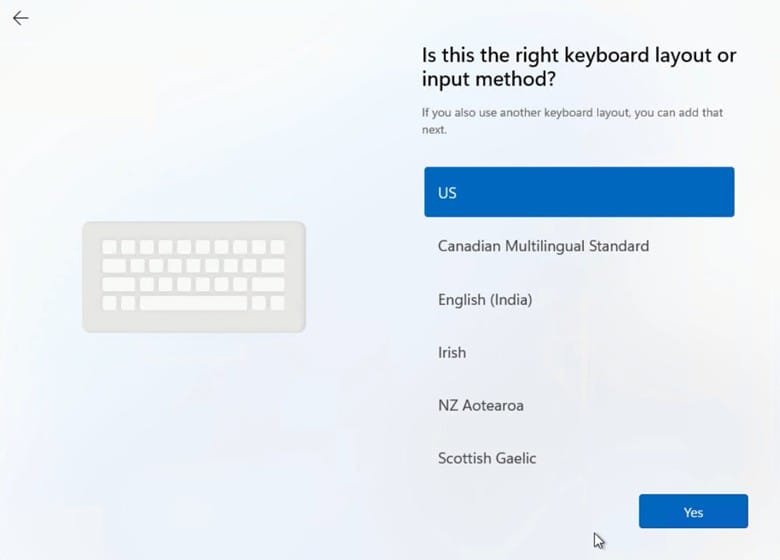
- End user power-on the device, first pages will be to select region, keyboard and network “if connected through ethernet cable the network step will be skipped”
From the logs we can check which region and keyboard selected
Open setupact.log “you can find it in the CAB file”
[CloudExperienceHostBroker.exe] CommitRegion 244
[CloudExperienceHostBroker.exe] Calling SetUserLanguages for paired locale en-US
[CloudExperienceHostBroker.exe] CommitKeyboards, primary keyboard: 0409:00000409
[CloudExperienceHostBroker.exe] CommitKeyboards, locale keyboard: 0409:00000409
Then you can map which region and keyboard from these refrence documents
Table of Geographical Locations – Win32 apps | Microsoft Learn
Default input profiles (input locales) in Windows | Microsoft Learn
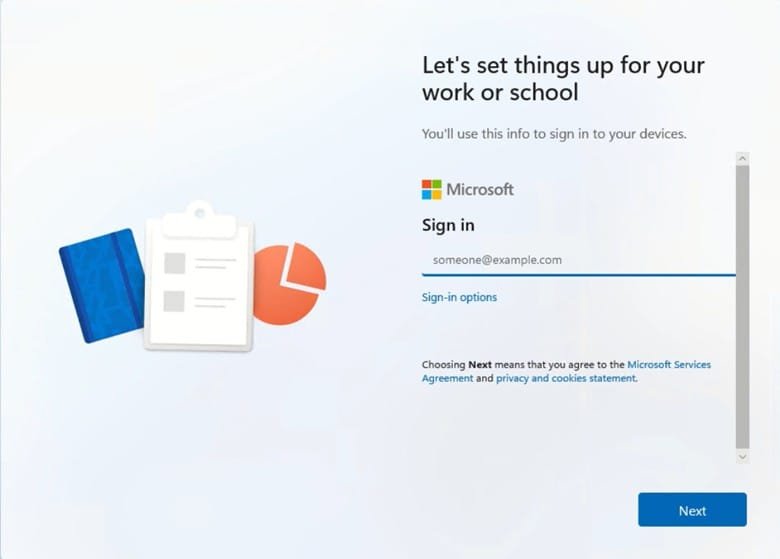
2. Signing into Microsoft Entra ID with the end-user’s Microsoft Entra credentials.
After the user signing in successfully, the user will have the following page “Please wait while we set up your device”
What’s happening during this step, let’s dig deep as there are a lot of things happened we need to understand !
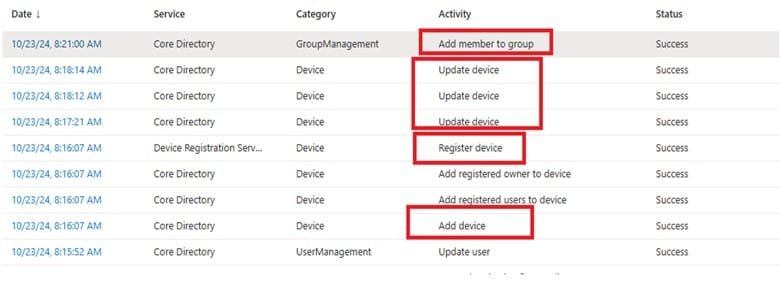
To get more details, we can check the Audit logs from Microsoft Entra
Open portal.azure.com –> Microsoft Entra ID –> Devices à Activity –> Audit logs
- The device will receive the “Autopilot device preparation” profile based on user assignment.
- For Autopilot V1, the Autopilot profile delivered to the device before the user sign-in as it is assigned to the HW hash, so once the device powered on and connected to the internet it will contact the Autopilot service to download the profile
- But with Autopilot device preparation, the profile assigned to user group, so it will be delivered to the device once the user sign-in to check which profile assigned to that user. based on user group and if there is any filter applied
- An object for the device will be added to Microsoft Entra ID
- For Autopilot V1, when a device registered with Autopilot which is when HW hash imported an object will be created in Entra ID. it will be with the purple icon and with “Microsft Entra join” registeration type
- But with Autopilot device preparation there is no HW hash registeration, the object will be created in Entra AD during device provisioning, as we can see from the screenshot the “Add device” action and it will be with normal icon “not purple” as there is no ZTDID
- The device registeration service will start to join device to Entra “Register Device”
- The device enrolls to Intune “not showing on the Audit logs as this is not in Entra action”
- Intune will begin to update device properties
- Add the device to the device group “the enrollment time group that we talked about when creating the profile”
I would prefer to stop at this step for this post and to continue the device provisioning on part 2 of this article
Which will be about getting assigned payloads to the device “Apps, Policies, scripts ,…”
Stay tuned!
And to see all post about Autopilot in IntuneBytes please click here



Leave a Reply